
I have had to do this twice. The first time shortly after the machine was bought in Western Australia (basically I had to do the work because the Western Australian distributor and their service agent were c**p). Many thanks to Alan Frew at Coffee for Connoisseurs for his assistance and help in diagnosing the fault.
In case you are interested, the original fault was rather strange. When I first turned on the machine all worked OK and I got a sensible water debit (about 60-100 ml in 10 seconds). However, once the machine had warmed up, invariably the water would hardly come out at all. As I said the local distributor and their service agent were useless and despite having the machine twice they were unable (or unwilling) to diagnose or solve the problem, all they did was stick a huge sticker with their contact details on the machine. Thanks!
When I stripped down the machine as outlined bellow I found a tiny bit of brass swarf (from where the threads had been put into the boiler) constricting the tiny hole where the water flows from the boiler into the group head. Once removed the machine worked perfectly. Took about 15 minutes for a novice to fix!
anyhow, enough ranting and back to the main event!
|
|
|
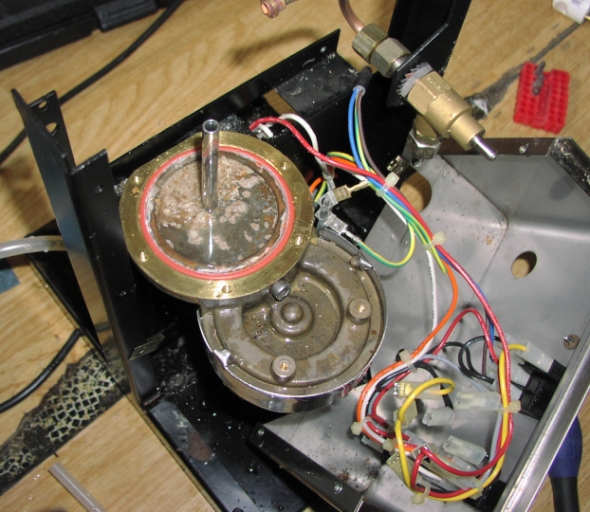
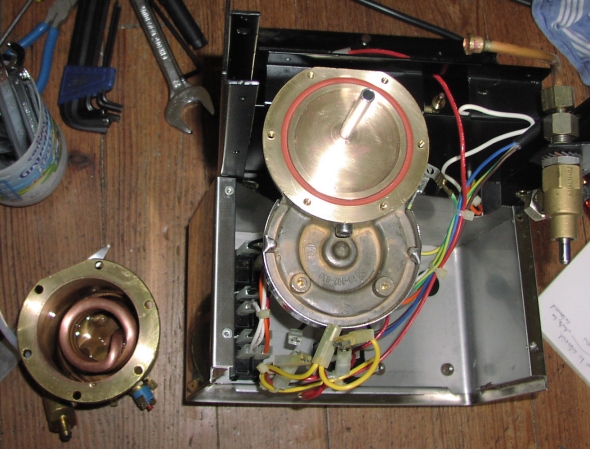
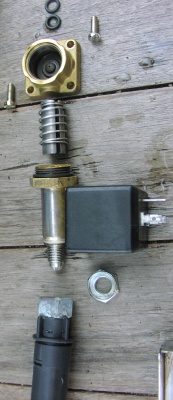
Parts slotted together so you can see what they look like. They actually need to be assembled in situe. |
|
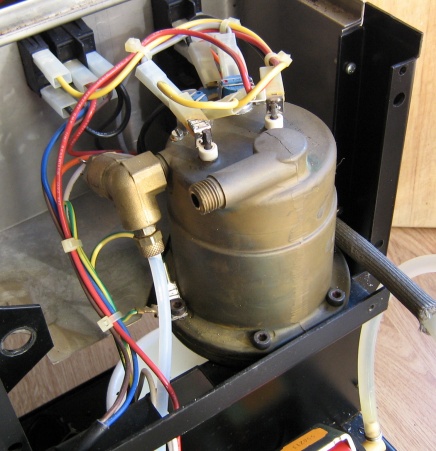
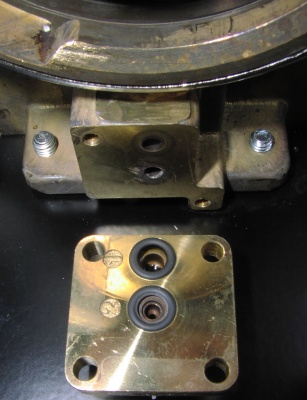
Both times there has been a blockage, its been here. The first time was a brass shaving that must have been left in the boiler from when they were tapping the threads. This caused an intermittent fault which sometimes prevented the water from flowing properly once the machine had heated up (The WA service rep for Ranchilio was unable to diagnose or fix this problem.
The second time, similar symptoms, except that the water rate was reduced all the time. Cause: some unknown substance blocking one of the holes. Possibly a spiders web? well the machine had spent three months being shipped from WA to the Pyrenees. |

|
The springy bit will only go in one way up and still move smoothly |

|
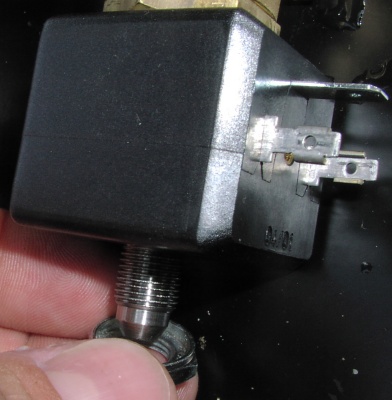
The three bits screwed togther before screwing back onto the group head. |
|
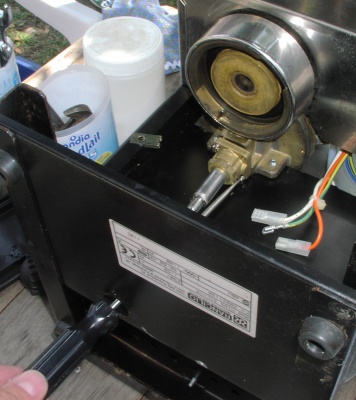
You can access the screws through the drain hole in the bottom. |
|
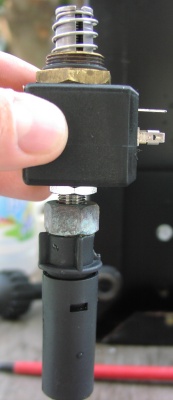
Slide on the solenoid, make sure the nut is the right way up -- ring on top. |
|
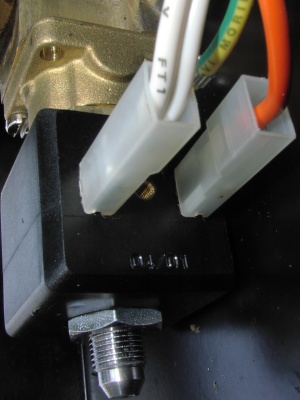
re-connect the wires. Earth at top; orange at back; double white at front. |
|
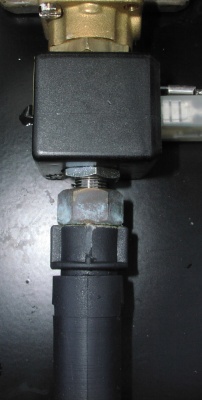
Screw the drain pipe back on |
