
| Honkey Nut 1
|
This is my latest bike project -- I have built a frame on Dave Yates frame building course.
Latest news I have recently started a Rhinoceros plugin for modelling bike frames.
Full details here.

Resources:

Ive just finished building it up and the first test ride round the block felt pretty good.
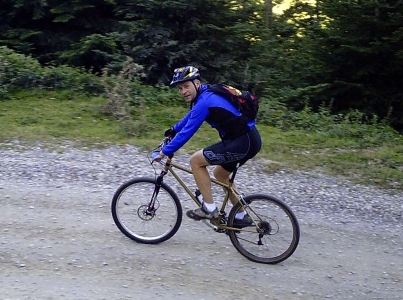
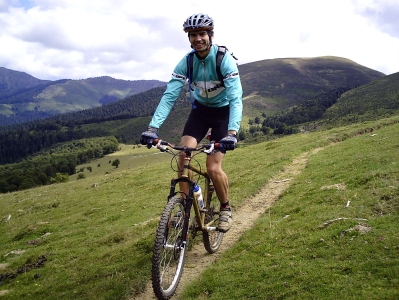


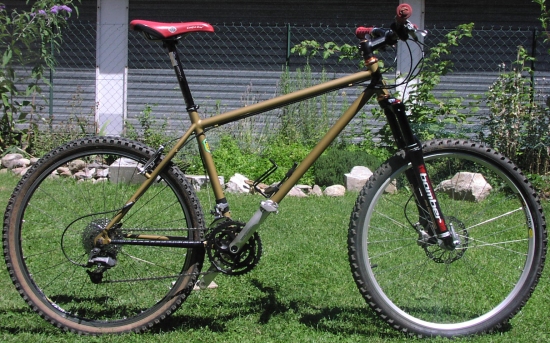


Here are the approximate dimensions:
| Head angle | 70 deg |
|
| Seat tube angle | 72 deg |
|
| Effective top-tube length | 612 mm | (centre seatpost to centre of head tube at intersection with top tube)
|
| Chain stay length | 417 mm |
|
| Seat tube length CC | 385 mm |
|
| Seat tube length CT | 457 mm | (top of seat tube)
|
| BB height | 312 mm | (wheel and tyre radius 327mm)
|
| Head tube length | 105 mm | (top to bottom)
|
| Fork | 105 mm travel | (e.g. Marzocchi MX Pro)
|
I developed my own spreadsheet to calculate the bike geometry based on the above data:
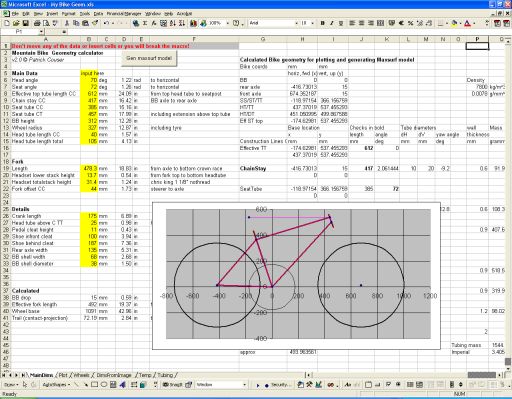
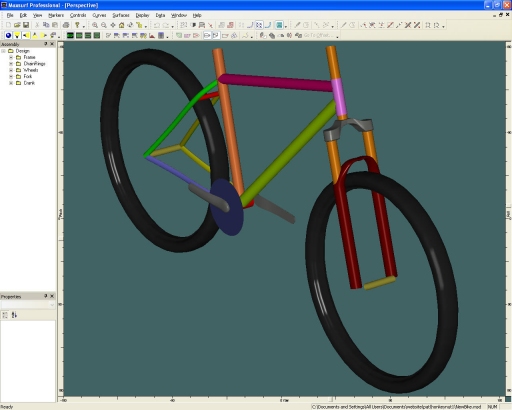
Using the COM interface in Maxsurf I was able to automatically generate a 3D model of the bike so that I could check tyre and chainring clearances:
A short video of the spreadsheet in action!
Download the spread sheet (non-macro version 2.1).
Download a Maxsurf model of the bike.
Download a Rhino model of the bike.
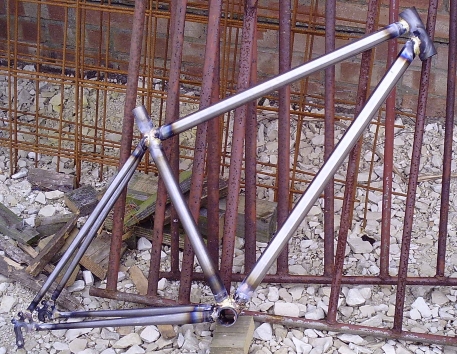
The frame is now complete and ready to be built up (come back in a couple of months!).
For those of you who are interested in the details of how the bike was built on Dave Yates' frame building course, please see below.

A rage of different tubes were used, basically chosen from what was available in Dave's stash. Initially the plan was for Reynolds 631, but the only down-tube that was long enough was in 853 and the only curvy chain-stays were also 853, similarly the only curvy seat-stays that Dave had were Columbus.
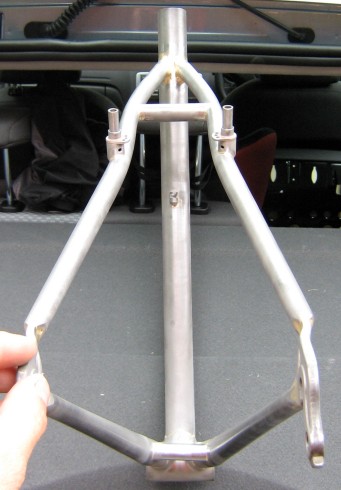
Sandblasted and sanded frame ready for painting.

You'll probably cringe, but I got the paintwork done (powder coated) at a place five mins round the corner for a fraction of the price of sending the frame off to be stove enamelled by a professional bike painter. Ill let you know how long lasting it is.
A frame is born
This describes in some detail (for my own records really) how the frame was put together on Dave Yates' frame building course.
Day 1 -- Monday
Select tubing:
| Top-tube: | Reynolds 631 28.6
|
| Seat-stays: | Columbus of some description
|
| Seat-tupe: | Reynolds 631: CX5363 (28.6; 0.9|0.6|1.2 bulged; 550; 170|50|155|75|100; bulge 27.2)
|
| Head-tube: | Reynolds of some description
|
| Down-tube: | Reynolds 853: BX2106 (31.75; 0.7|0.5|0.7; 680; 75|50|280|50|225)
|
| Chain-stays | Reynolds 853 (I think) had FX3550 KKJ on them but I cant find this listed!
|
| BB shell | pressed mild steel with lugs
|
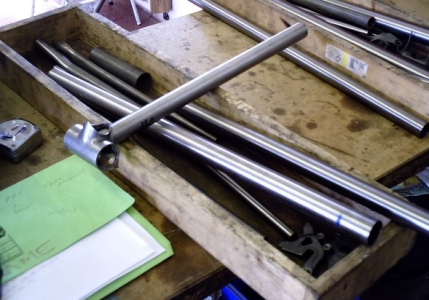
Braze BB to seat-tube
- Always hold tubes in wooden blocks of the appropriate size -- not directly in vice!
- Determine short but end of seat tube (one with writing on it and also one without bulge!)
- Mark required trimming in BB shell
- Cut off excess with hacksaw and file smooth
- Clean
- Flux
- Mount in jig
- Braze.
- Start at part with most metal -- between ST and HT junction
- Move round join -- add brass till no longer pulled into joint
- Don't over heat! (Zinc burns off leaving copper rather than brass; flux goes black; tubes melt!)
- Ensure good fusion when completing joint -- i.e. re-melt the part you started with.
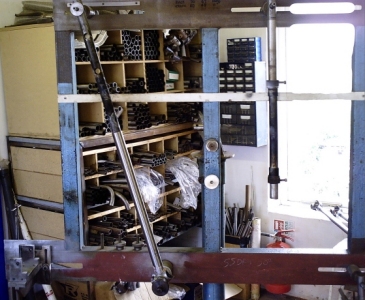
Get the other components and sub-assemblies ready
- Slot chain stays, offset slot to put dropouts on inside of tube. Ensure matched alignment!
Slot about 3mm wide, 10mm deep (hack-saw blade depth) snug fit (for the dropouts we used!).
Clean up and grind out for cassette clearance on drive-side.
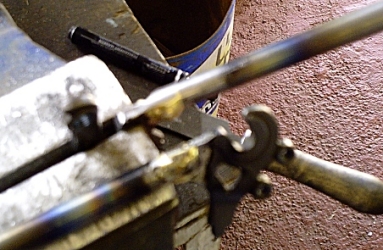
- Cut and face head tube on lathe
-
Clean out inside of down-tube and chain-stay lugs on BB (used air-powered die-grinder -- like big dentists drill! Tungsten carbide bit, rounded on end).
Open up sockets on shell using lever, though you could just about get away with using the 935 stays in the relatively soft wild steel BB shell. Ensure that you dont bell-out the lugs by keeping the grinder parallel to the lug-sides.
-
Mount up in jig and mitre down-tube where meets head-tube. Mitre the short-but end (the one with the writing).
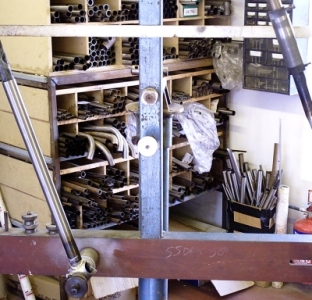

-
Cut down-tube to length and ensure clearance in BB shell. Refine mitre at other end.
-
Top tube
- Cut and mitre top tube.
- Do head tube end first.
- Remember to cut off at the long butt end!
- Then gradually refine mitre at seat tube end -- needs to be a dead fit.
- Breather hole in top tube (underside near seat tube 1.5mm hole) as this is going to be a sealed tube
- Get all set up in jig
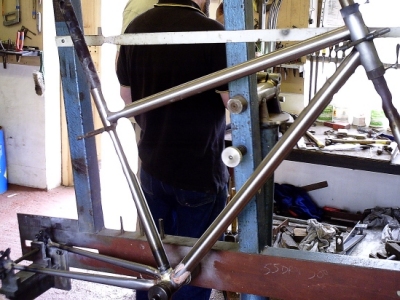
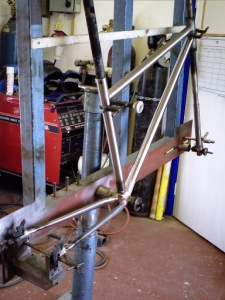
- cut out wood for chicken shed!
Day 2 -- Tuesday
-
Fit chain stays -- cut to length so that they dont poke too far into BB shell.
-
Clean up tubes and flux, clamp tubes and rear axle
-
Tap BB lugs back into shape around chain stays and down tube
-
Tack braze in following order on top, CL of tubes: (to tack, heat up relatively quickly and just small blob of brass.)
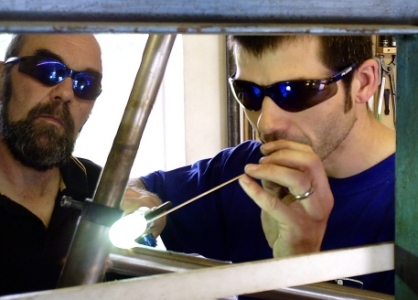
- Seat-tube/Top-tube
- Top-tube/Head-tube
- Down-tube/Head-tube
- Then go back and braze (without filleting) in the same order. Do one side then the other of each tube.
- Then braze down tube into BB.
- Braze chain stays into BB
- Tack tops of chain stays into BB
- Then finish brazing them all round.
- Work round outside first, then inside.
-
Seat stays
- Slot seat stays -- only half depth of blade (for these dropouts) and make fairly sloppy fit.
- Mitre to seat tube (hah!) Ensure that they are on the bulged part of seat tube or add collar.
- Clamp into place on frame.
- Ensure heat sink for seat tube
- Tack top of seat stays to seat tube, heat ST between stays then tack each one.
- Then work round over top and inside then round inside and meet at bottom.
-
Braze seat stays into dropouts.
-
Bike like object completed -- celebrate with cup of tea!
At this point, the frame weighed in at about 3.5lb
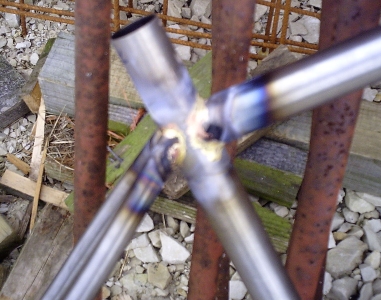
- Clean up inside of BB using air-powered die-grinder, watch threads.
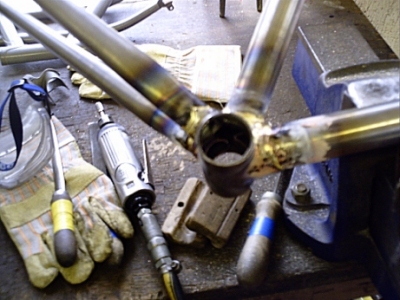
- Clean up dropout/seat-stay joint.
- At this point I decided to go light and removed the second set of eyes from dropouts!
- Make bridges ensuring adequate tyre clearance.
- Drill breather holes into bridges -- these are going to be sealed tubes too.
Day 3 -- Wednesday
Sand blast frame to clean off old flux etc. Dave's torch has a gas-fluxer which makes the filleting process much simpler as you dont need to apply flux manually.
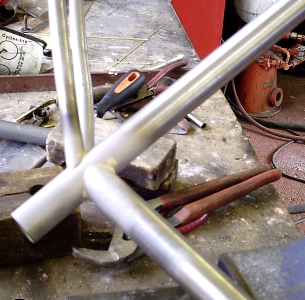
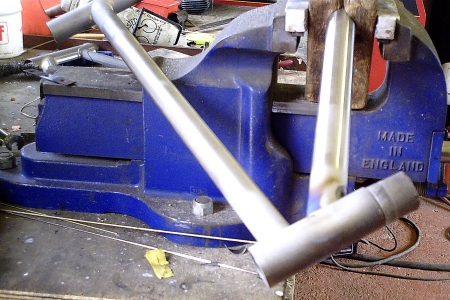
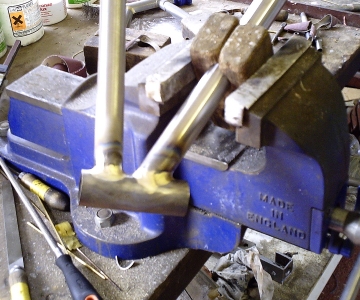
Filet joints
- Moderate heat, thick filling rod.
- Heat-sink tubes with large chunks of metal. (Especially head tube as this is pretty critical. But don't forget seat tube either. The seat tube heat sink is probably going to bind. Let it cool of then clamp heat sink in vice and twist off frame.)
-
Working in quadrants around the joint, add material going upwards then smooth going back down.
- If heats up too much and gets a bit sloppy. Flick torch off work and use across work to control heat.
- Then file off while still hot (Gary Fisher tip apparently).
- Use round file about 8mm dia.
- Can use smaller file with emery to help in final stages.
- Roll file off filet slide onto tubes -- take care not to under-cut or take material off tubes.
Braze ons
-
Bottle mounts: silver soldered (605C) because in middle of tubes and brazing would be a bit too hot.
- Drill taking care not to touch other side of tube.
- Apply fair amount of flux (also on rod -- warm and then dip in flux to make it stick) and insert bottle mount. Flux is hydrophilic so dont want to get too much (any) inside tube or will attract moisture and cause rusting
- Use gentle flame perpendicular to tube and heat mount and tube carefully using a circular motion.
- No colour change to help.
- Flux melts just before solder -- at about 550C.
- When flux melts apply solder which should flow easily into joint.
- Same procedure for:
- cable guides (I went for blocks of 3 mounted under the top tube -- drilled out to accept full-length outers)
- front mech. cable stop
Finishing
- Ream seat tube (always turn clockwise)
- Cut seat tube slot
- Tap BB threads -- dont forget non-drive side is left handed!
- Much sanding and filing to make it all neat and tidy. Maybe torch if necessary
- Seal up breather holes (when no more heating required)
- Grind point on welding rod
- Dip in brazing flux
- Slick pointy end of welding rod into hole
- Heat tube, relatively quickly, dont heat rod else it will melt
- As soon as up to temp, apply brazing rod
- Cut off welding rod and file flush
Dave's course
I really had a great time on the course thanks to Dave and Debbie's wonderful hospitality. Dave is an excellent teacher, very patient and calm and always willing to share his wealth of knowledge and experience. I learnt a lot and came out at the end of the week with a great frame, fond memories and mandatory silly grin.
Dave's workshop is fully equipped and its a pleasure to have all the right tools and someone to teach you how to use them!
Highly recommended to anyone who has an interest in learning how to build a bike frame.


